

The
VIEW OUR TRAVEL PHOTO ALBUM >
My handmade photography backdrop! || Airdrie Alberta Photography Tips
I was inspired by my photographer friend Lucy from Kimberly, BC (Portraits by Lucy) to build a real wood backdrop . I simply gushed over her images and I encourage you to head on over to her website. She takes these really powerful photos that ooze emotion and color, but her unique take on the subject is so delicate and feminine. I like to think of her as the next Ana Brandt when I look at her newborn photos; she has so much talent!! If I ever have a little one you can bet I’ll be headed to Kimberley to get some gorgeous newborn heirloom images by Lucy! Anyways.. back to the point of my story– I saw this beautiful rustic wood back/floor drop in her photos and it was so natural and matte, I asked where she bought her vinyl backdrop from because it was so lovely and ‘real’ looking… to which she replied “Oh! It’s real wood! I made it” and I stared at her with my mouth gaping open … Why didn’t I think of that?!!!!! This lady is a genius!
Immediately my brain was whirring– as an artist I tend to be very hands on and crafty by nature and building my own version sparked this crazy obsession. I think it was all I talked about for the week after I came home from the retreat. (Sorry family). But, I had a long to-do list to complete before I let myself have my ‘treat’ at the end– building my own wood backdrop. I blazed through my workload that week so I could get to the fun activity and braved the cold temperatures in my workshop. I had an epiphany. Why can’t my backdrop have 2 useful sides, instead of just 1? If I stained the ‘flat’ side walnut just like Lucy’s, but on the reverse side where the bracings were, what if I were to style that side like a vintage white barn door??!! OoooOooooh!!! Pat on the back, Kaycee. I could reverse the backdrop according to whatever setting I wanted.
To start, I found some rough cut 1×6″ boards on the farm (they were leftovers from repairing the cattle wind breaks). The best part about these boards is their terrific texture. Some even had bark around the edges!!! Plus, I guess they are free in a way (woohoo!) and if I had to buy the 1×6’s I estimate this project would cost around $200.
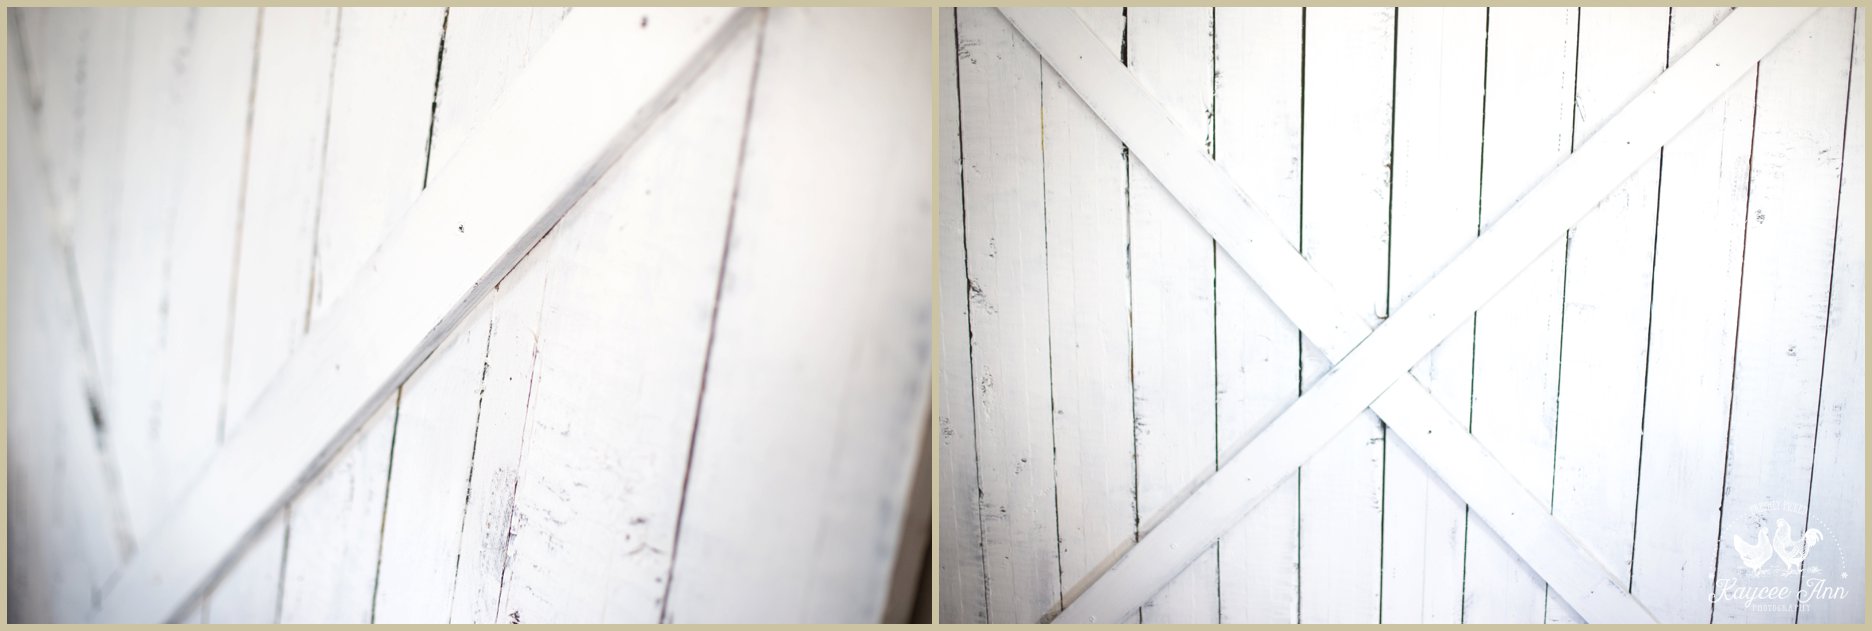
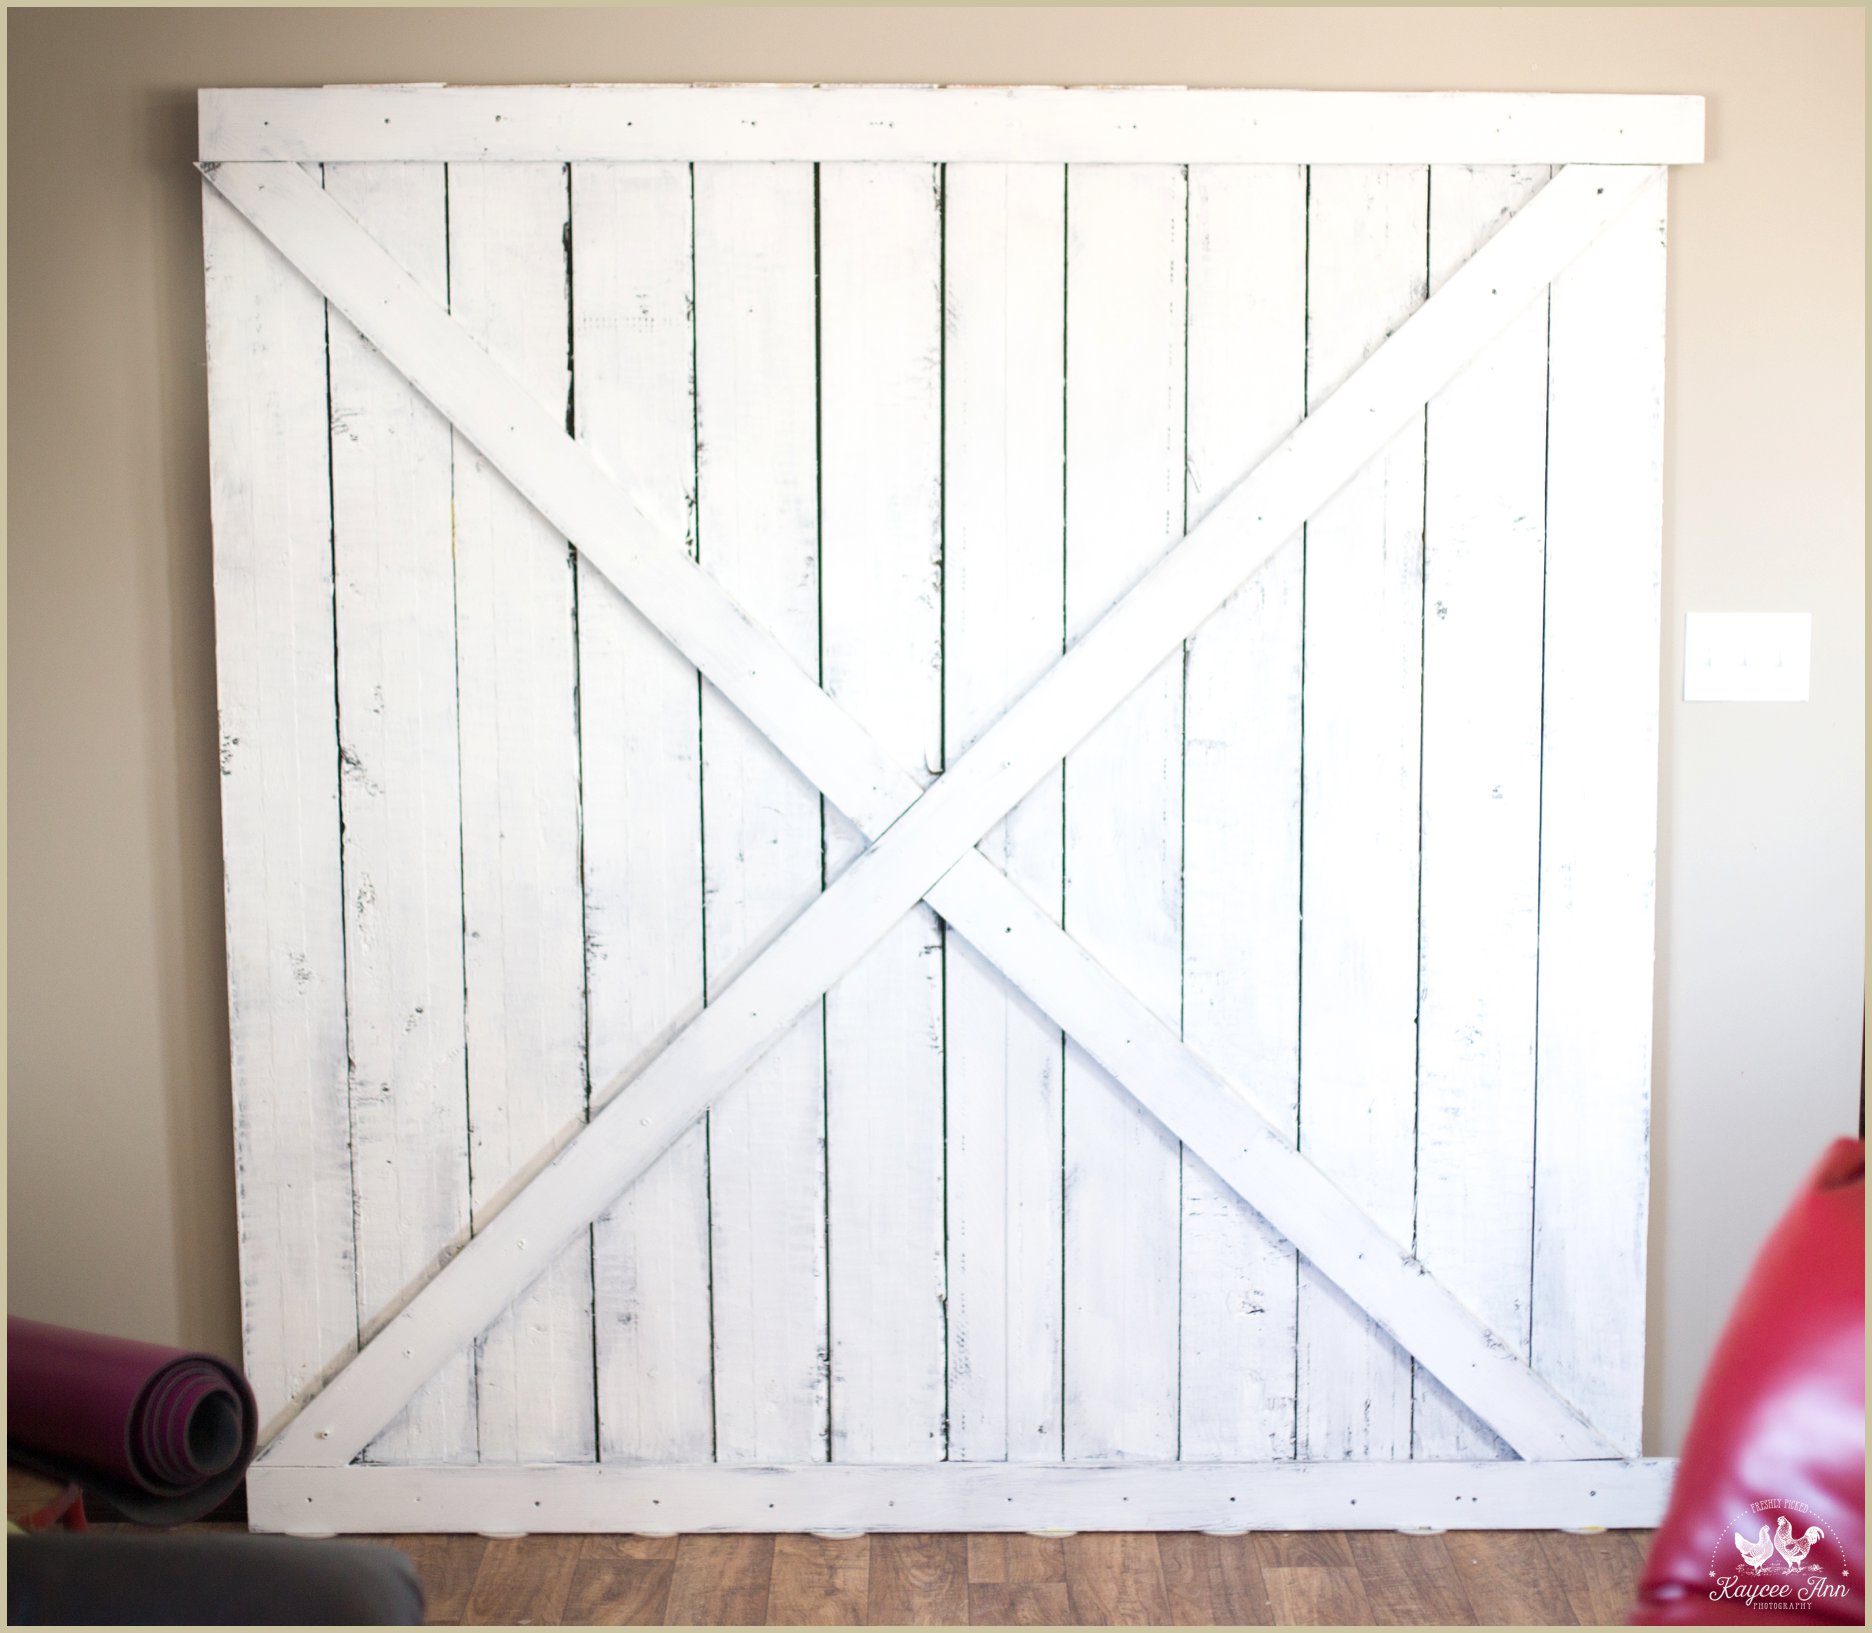
I took 12, 1×6″ boards because I wanted my backdrop Megatron size at 6’x6′. It’s a big size, but I figured that if I made it 4’x6′ it would still be too heavy for one person to carry, and if you already have two people carrying it.. why not make it bigger?? (The thought process of Kaycee.) I picked out 12 boards and I cut them down to 6′ long, each. Then I lined them up on the floor of my woodshop, with the ‘good side’ down (that would be the ‘flat’ side that is stained). Then I took 4 , 1×4″ boards and made the classic barn door ‘X’, with the straight board running horizontal on the top and bottom of the X. Since we are at this point, I would like to extend a shoutout to my brother Jeffrey who helped me cut the angles with the table saw. (HEY, just because the tools are in my wood shop, doesn’t mean I have the licence to use them. Haha. )
The next day I went into Home Depot to buy some 1 1/2″ wood screws so I could screw it together. I also picked up some furniture studs to glue over the screws– I thought it would make it look more rustic & real.
Then I got to work painting it. First I slapped on a coat of dark brown paint on the entire barn door side of the backdrop. WHY? Because otherwise when I put on my top coat of white, the blonde wood would show through, and the overall vintage effect wouldn’t be attained. Now you have to wait for it to dry.. and if you’re me, that’s code for impatiently pacing around the farm, doing odd chores, talking to some cows, and cleaning the chicken coop.
Finally I could put my top coat of white on. I used a cranky old paint brush (you know the kind I’m talking about.. the brushes that keep losing their bristles and their will to live) to lightly brush on the white. I wanted some of the dark to peep through. So I was really careful about my technique here.
Once the barn door side was dry, I flipped it over and sanded the “good” side down. I needed this side to be the better, blonder side because any stains and mars would show through the stain. Then I applied walnut stain to the whole thing with a brush.
Of COURSE in typical Kaycee fashion, I didn’t take photos of the process… I was so excited I just dived right in to my little project (at night, when it was dark). My closing remark on this backdrop would be this.. It is very heavy and awkward. You will need two people to carry it into your place, heaven forbid you have hallways and corners to manoveur around, (GOOD. LUCK.). Also you will have to find a way to prop it up without tearing your lino or gouging the living crap out of your drywall! But I can tell you, mine is so worth it.
Click on over to Lucy’s website here: [ Newborns, Families and Weddings by Lucy Hamilton, Kimberly BC ]
Leave a Reply

@KAYCEEANNFARM
Visit the Barn

0
comments