

The
VIEW OUR TRAVEL PHOTO ALBUM >
Paul & Lisa Before & After
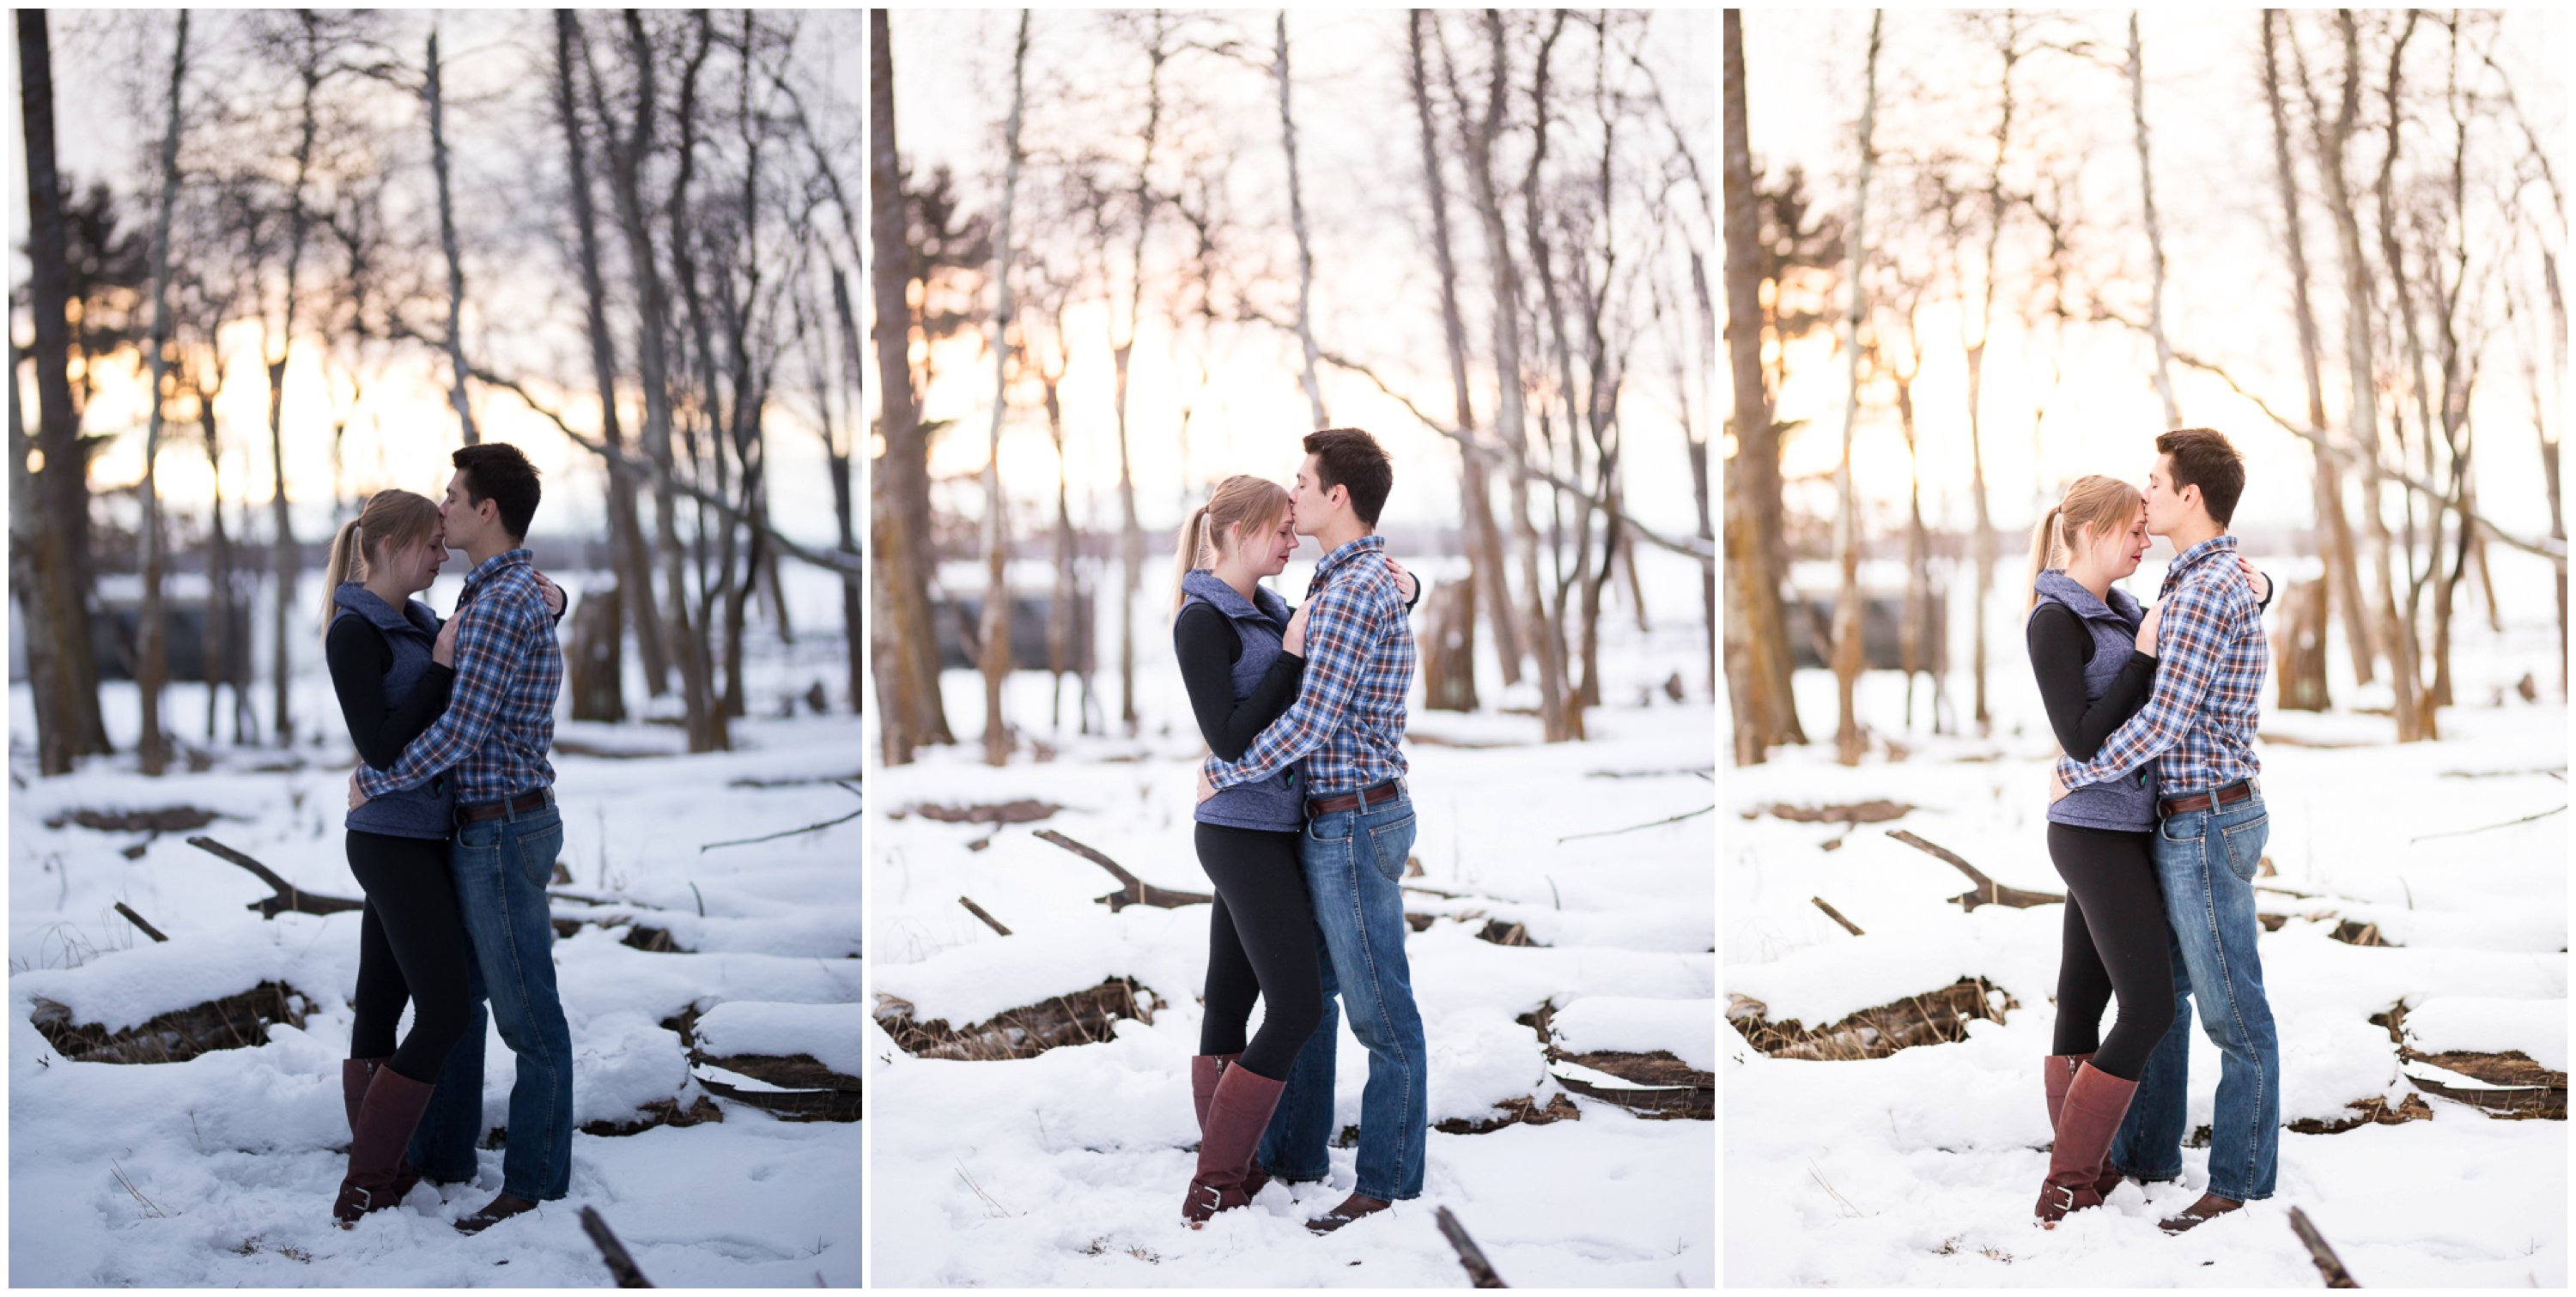
Left (how the image was shot in-camera) to Right (final product delivered to client).
Todays before & after is a lesson on diagnosing skin tones in Lightroom and making sure your images have a “pulse”. I call it a pulse because I want my subjects to look healthy and alive!! On the left is how the image came into my camera, leading to the far right where ONE critical change between 2 & 3 breathed some life into this image.
STEP 1 – STRAIGHT OUT OF CAMERA. The EXIF data on this photo is ISO 250 f/1.4 1/320 sec with the new Sigma 85mm ART. I had the lens rented for this particular weekend, I was pushing this lens to see what it could do. At f/1.4 it focused lightening fast and didn’t even flinch. Which is totally crazy by the way, as a rule of thumb you shouldn’t be shooting 2 subjects with a wider aperture than f/2! (yes, I was totally sold on this lens, I went out the week after and totally bought it! Review coming soon hah). I always shoot in RAW and ALWAYS underexpose my images. The sun was right at the horizon line so I hid from the suns full glare by using Lisas pretty little head to block the light from streaming into my lens.
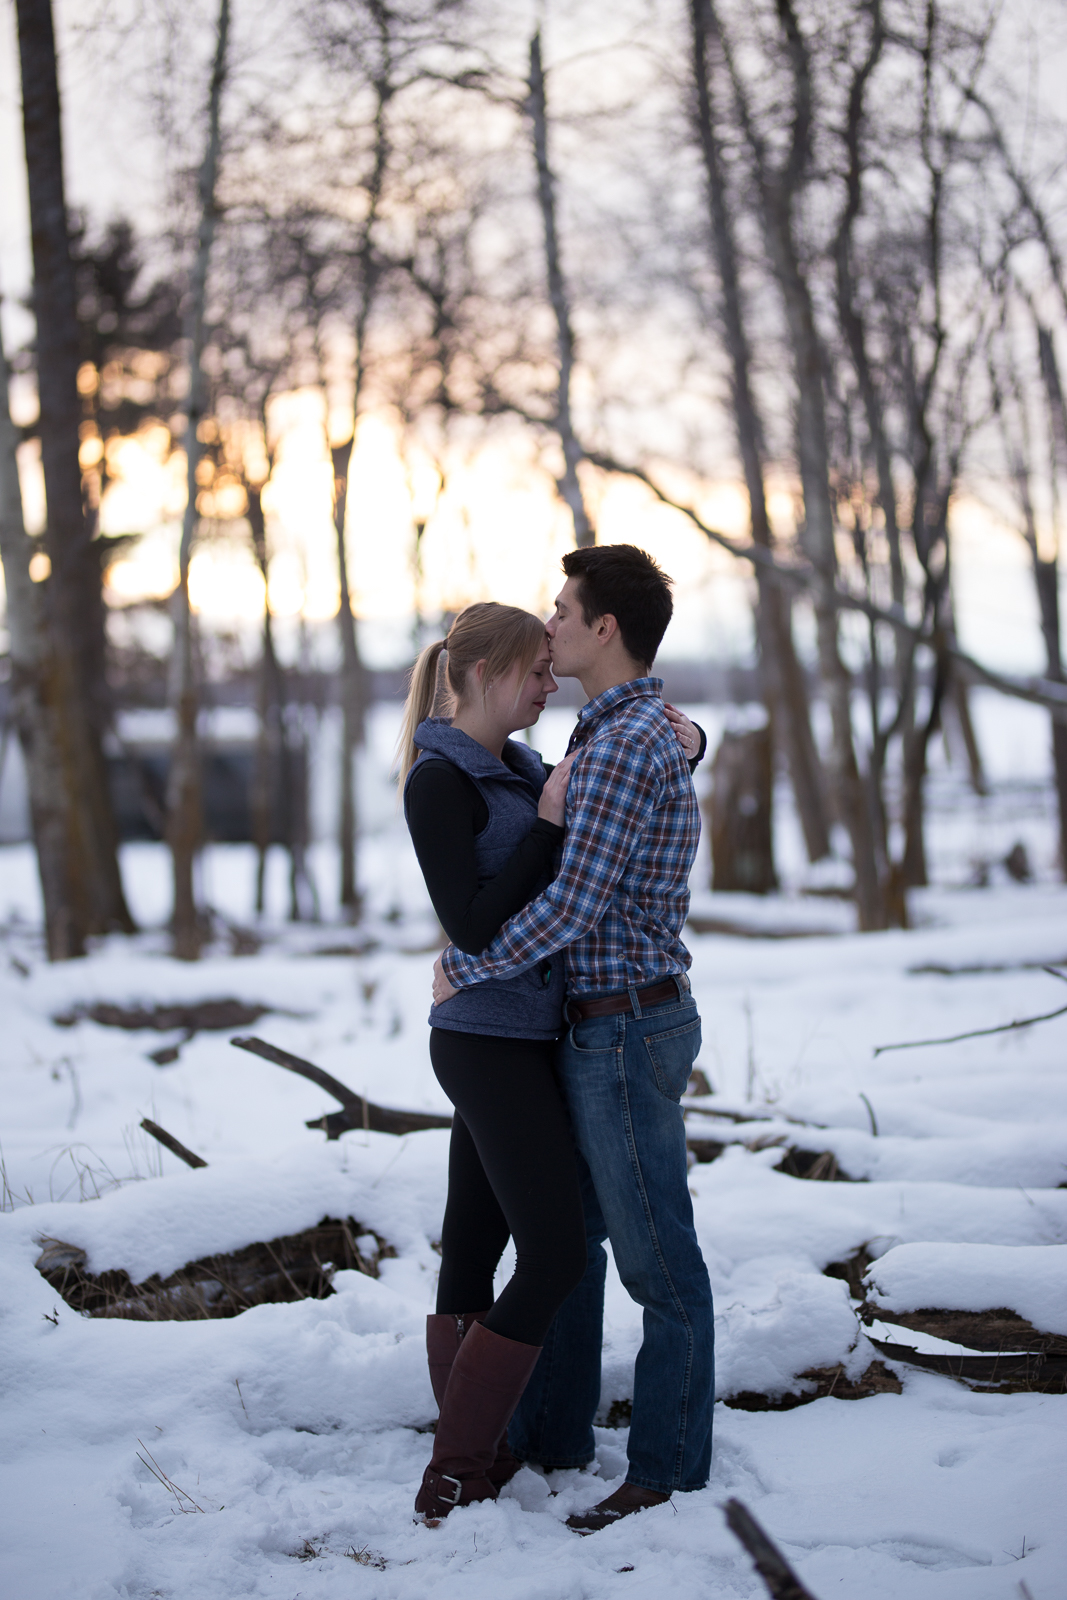
STEP 2. The middle photo is okay — it is totally acceptable. But take a close look at the skin tones. Lisa has some grey in the shadows of her neck and when you look at her face (in comparison to the shadows) her skin is blue (which– lesbehonest– it was cold out, and her skin was probably ACTUALLY blue!!). I needed to breathe some healthy skin color and glowiness to this image. So what can I do? I headed to the split toning panel in Lightroom, of course! I picked a peachy hue and moved the saturation meter up until I felt I reached a happy spot.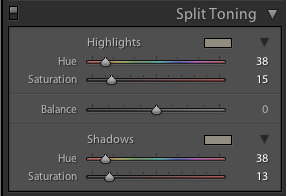

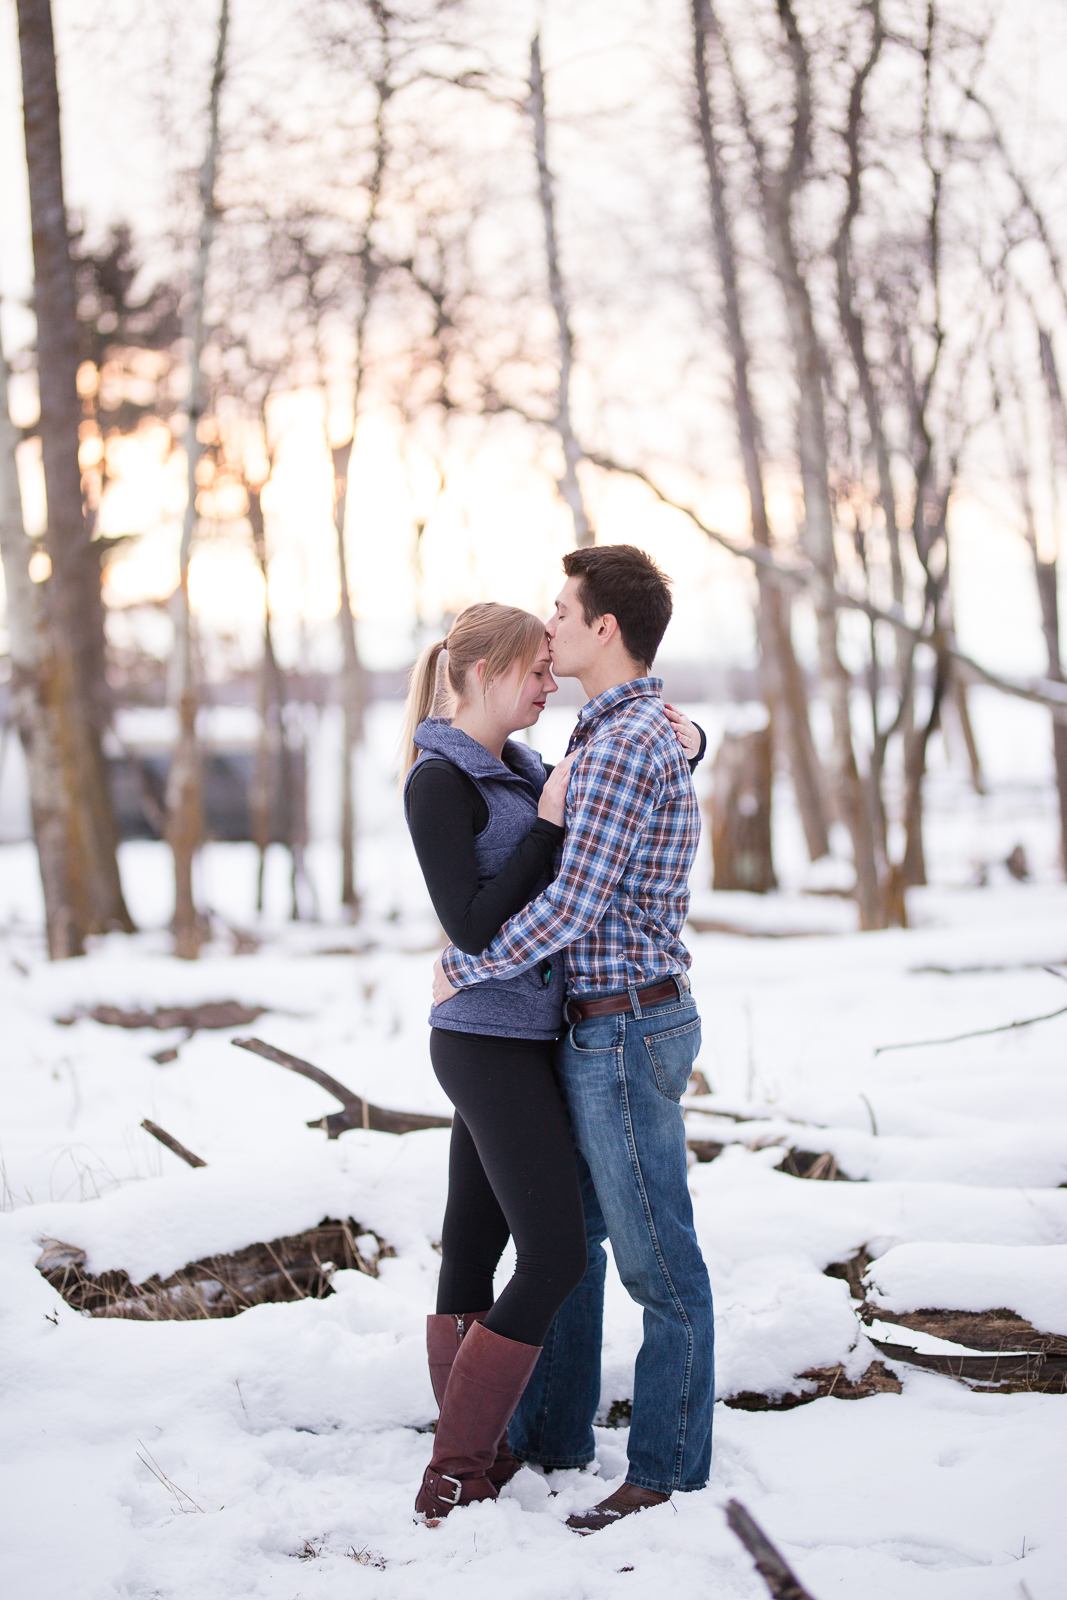
STEP 3 – DELIVERED IMAGE. And wa-la! Sometimes I look at this image and I feel its a touch too yellow— but I want you to take a sharp look at Lisa’s jaw & shadows on her face. Her skin is glowing and healthy. Her lips are a nice red , and overall you couldn’t tell that it was pretty dang cold out!!! This image came a long way thanks to adding skintones in Lightroom.
Hope this helps! As always, any questions just email me!

Leave a Reply

@KAYCEEANNFARM
Visit the Barn

0
comments